How To Connect To Raspberry Pi Via Internet: A Comprehensive Guide
Connecting to your Raspberry Pi via the internet opens up a world of possibilities for remote access, monitoring, and automation. Whether you're a hobbyist or a professional, understanding how to securely access your Raspberry Pi from anywhere is essential. This guide will walk you through every step of the process, ensuring you have a seamless and secure connection.
With the increasing popularity of IoT (Internet of Things) projects, many users are leveraging the power of Raspberry Pi for remote operations. However, setting up remote access can be challenging for beginners. This article aims to simplify the process by providing detailed instructions and expert tips.
In this guide, you'll learn about the necessary tools, security measures, and configuration steps to connect to your Raspberry Pi via the internet. By the end, you'll have the knowledge and confidence to set up a secure and reliable connection for your projects.
Read also:History Of Hershey Park Pennsylvania A Sweet Journey Through Time
Table of Contents
- Introduction to Raspberry Pi and Remote Access
- Why Connect to Raspberry Pi via the Internet?
- Preparation and Requirements
- Connecting to Raspberry Pi on a Local Network
- Setting Up Port Forwarding
- Using Dynamic DNS (DDNS)
- Secure Shell (SSH) for Remote Access
- Using VNC for Graphical Access
- Enhancing Security for Remote Connections
- Troubleshooting Common Issues
- Conclusion and Next Steps
Introduction to Raspberry Pi and Remote Access
Raspberry Pi has become one of the most popular platforms for developers, hobbyists, and educators. Its versatility and affordability make it ideal for a wide range of applications, from home automation to cloud computing. However, to fully utilize its potential, you may need to connect to your Raspberry Pi via the internet.
Remote access allows you to control your Raspberry Pi from anywhere in the world, enabling you to monitor projects, manage servers, or troubleshoot issues without physical access. This section will introduce you to the basics of remote access and its importance in modern technology.
Why Connect to Raspberry Pi via the Internet?
Connecting to Raspberry Pi via the internet offers several advantages:
- Convenience: Access your projects from anywhere, whether you're at home, work, or on vacation.
- Automation: Monitor and control IoT devices remotely, ensuring they function as intended.
- Collaboration: Share access with team members or clients for collaborative projects.
- Security: Remotely monitor and update your system to prevent vulnerabilities.
Understanding these benefits will help you appreciate the importance of setting up a secure and reliable connection.
Preparation and Requirements
Hardware and Software Requirements
Before you begin, ensure you have the following:
- A Raspberry Pi device (any model with Ethernet or Wi-Fi capabilities)
- A stable internet connection
- Raspberry Pi OS installed on your device
- A computer or mobile device with SSH or VNC client software
Basic Knowledge
Having a basic understanding of networking concepts, such as IP addresses, ports, and firewalls, will be beneficial. Additionally, familiarity with the Linux command line will make the setup process smoother.
Read also:How Old Is Olivia Dunne Exploring The Life And Career Of A Rising Star
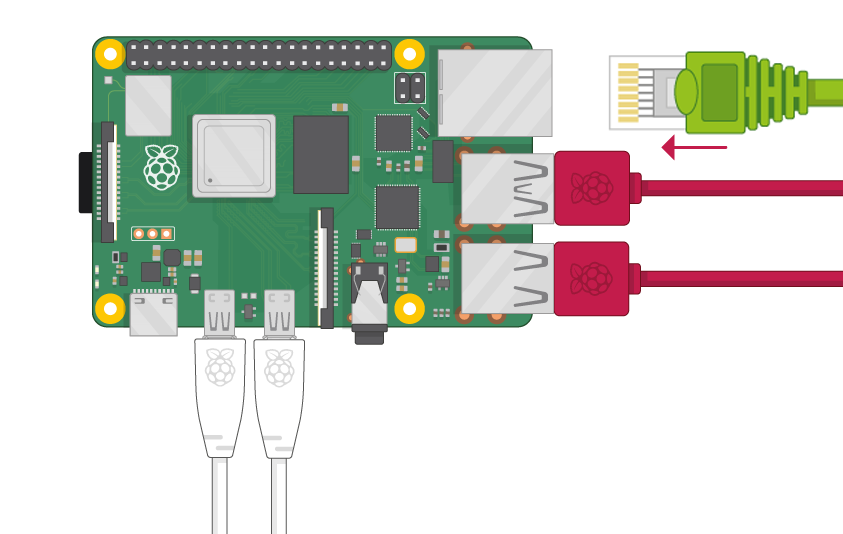
Connecting to Raspberry Pi on a Local Network
Before connecting to your Raspberry Pi via the internet, it's essential to establish a connection on your local network. This step ensures your device is properly configured and accessible.
Steps to Connect Locally:
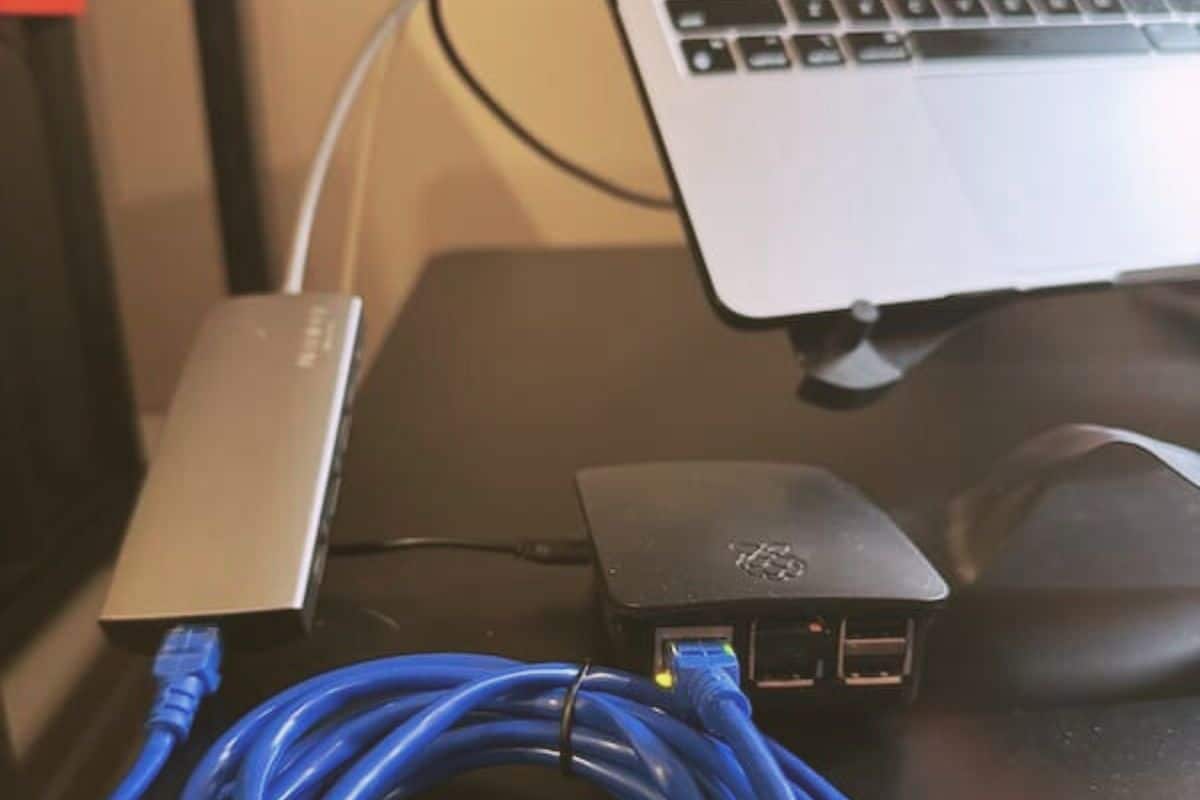
- Power on your Raspberry Pi and connect it to your router via Ethernet or Wi-Fi.
- Find the local IP address of your Raspberry Pi using tools like
nmapor by checking your router's DHCP client list. - Use an SSH client (e.g., PuTTY on Windows or the terminal on macOS/Linux) to connect to your Raspberry Pi using its local IP address.
This local connection serves as the foundation for setting up remote access.
Setting Up Port Forwarding
Port forwarding allows you to direct incoming internet traffic to a specific device on your local network. This is crucial for accessing your Raspberry Pi from outside your home network.
Steps to Set Up Port Forwarding
- Log in to your router's admin interface using its local IP address (usually
192.168.1.1or192.168.0.1). - Navigate to the "Port Forwarding" or "Virtual Server" settings.
- Create a new rule to forward port 22 (default SSH port) to the local IP address of your Raspberry Pi.
- Save the changes and restart your router if necessary.
Port forwarding ensures that incoming SSH requests are directed to your Raspberry Pi, enabling remote access.
Using Dynamic DNS (DDNS)
Dynamic DNS (DDNS) simplifies remote access by providing a consistent domain name for your changing IP address. This is particularly useful if your internet service provider assigns dynamic IP addresses.
Setting Up DDNS
- Sign up for a free DDNS service like No-IP or DuckDNS.
- Create a hostname and configure it to point to your public IP address.
- Install the DDNS client software on your Raspberry Pi to update the hostname automatically when your IP address changes.
With DDNS, you can access your Raspberry Pi using a memorable domain name instead of relying on a constantly changing IP address.
Secure Shell (SSH) for Remote Access
Secure Shell (SSH) is the most common method for remotely accessing Raspberry Pi via the internet. It provides encrypted communication between your device and the Raspberry Pi.
Configuring SSH on Raspberry Pi
- Enable SSH on your Raspberry Pi by running
sudo raspi-configand navigating to the "Interfacing Options" menu. - Set a strong password for the default
piuser or create a new user with restricted permissions. - Test the SSH connection locally before attempting remote access.
SSH ensures secure communication and is essential for managing your Raspberry Pi remotely.
Using VNC for Graphical Access
While SSH provides command-line access, VNC allows you to interact with your Raspberry Pi's graphical interface remotely. This is useful for applications that require a visual interface.
Setting Up VNC on Raspberry Pi
- Install the VNC Server on your Raspberry Pi using
sudo apt install realvnc-vnc-server. - Enable VNC by running
sudo raspi-configand selecting the "Interfacing Options" menu. - Download and install the VNC Viewer app on your computer or mobile device.
- Connect to your Raspberry Pi using its local IP address or DDNS hostname.
VNC offers a user-friendly way to interact with your Raspberry Pi, making it ideal for beginners and advanced users alike.
Enhancing Security for Remote Connections
Security is paramount when connecting to your Raspberry Pi via the internet. Follow these best practices to protect your device:
- Use Strong Passwords: Avoid using default credentials and create complex passwords for all users.
- Enable Two-Factor Authentication (2FA): Add an extra layer of security by requiring a second form of verification.
- Change Default SSH Port: Modify the default SSH port (22) to a non-standard port to reduce automated attacks.
- Install a Firewall: Use tools like
ufwto restrict incoming traffic to only necessary ports.
By implementing these security measures, you can protect your Raspberry Pi from unauthorized access and potential threats.
Troubleshooting Common Issues
Even with proper configuration, you may encounter issues when connecting to your Raspberry Pi via the internet. Here are some common problems and solutions:
- Connection Refused: Ensure SSH is enabled and the correct port is forwarded in your router.
- Timeout Errors: Verify your public IP address and DDNS settings are correct.
- Authentication Failed: Double-check your username and password, and ensure 2FA is properly configured.
If you encounter persistent issues, consult the Raspberry Pi documentation or seek help from online forums.
Conclusion and Next Steps
Connecting to your Raspberry Pi via the internet is a powerful tool for remote access and automation. By following the steps outlined in this guide, you can set up a secure and reliable connection that meets your needs. Remember to prioritize security and regularly update your system to prevent vulnerabilities.
We encourage you to share this article with others who may find it helpful. If you have any questions or feedback, feel free to leave a comment below. Additionally, explore our other tutorials and resources to enhance your Raspberry Pi projects further.
References:

